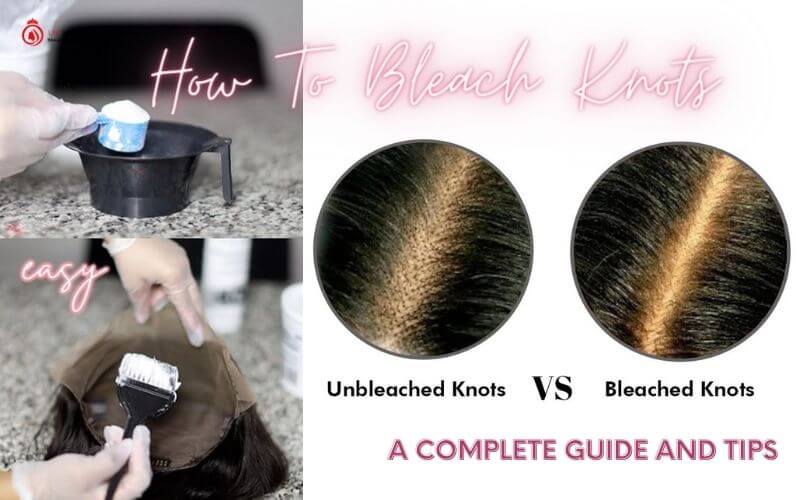
Have you ever wondered how to get that flawless, natural-looking hairline with your lace wig or frontal? The secret lies in bleaching the knots. Welcome to our step-by-step “How To Bleach Knots” tutorial , where we unveil the art of knot bleaching. We’ll guide you through the process, offering expert tips and insider tricks to help you achieve a stunning, seamless look that’ll leave everyone wondering if it’s your real hair.
How to bleach knots – Step by step guide
Bleaching the knots is an essential step in customizing a lace wig or a lace frontal to make it look more natural. The knots are the tiny, dark dots where individual hairs are tied to the lace base. Bleaching the knots helps to lighten them, making them less visible and creating a more realistic appearance. Here’s a step-by-step guide on how to bleach the knots on a lace wig or frontal:
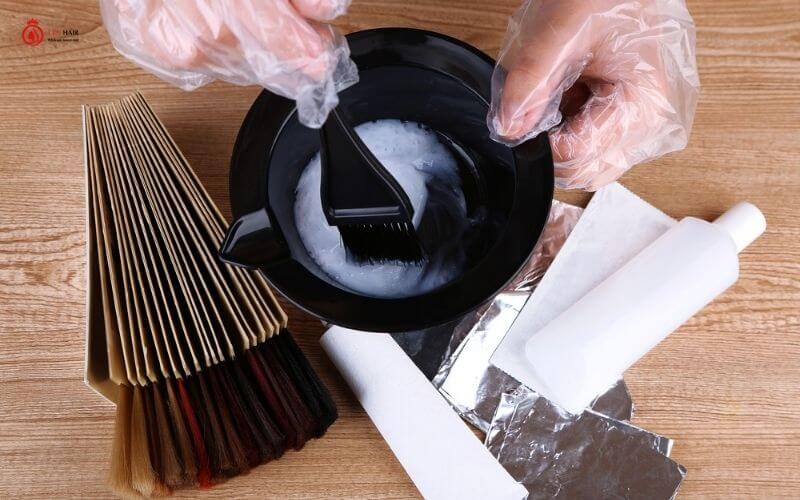
Things You Need To Bleach The Knots
Having these materials prepared and organized beforehand will streamline the knot-bleaching process and help you achieve the desired results safely and effectively.
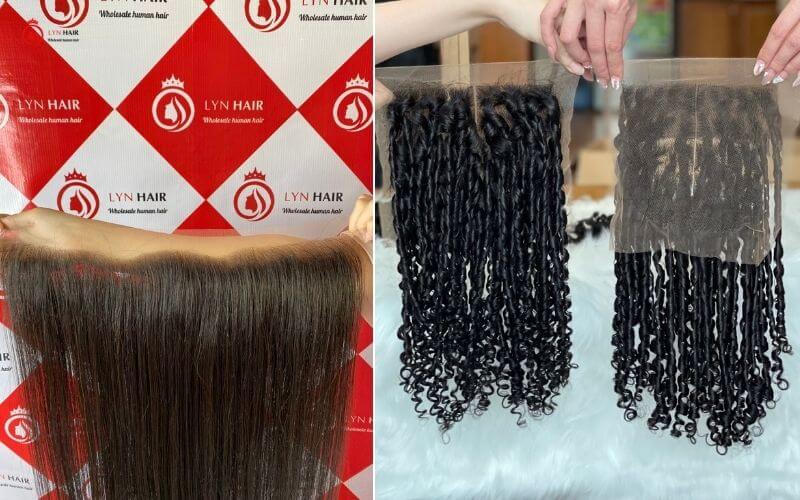
- Lace Wig or Lace Frontal: Ensure you have the wig or frontal you intend to customize. It should have a lace base where the hair is hand-tied.
- Bleaching Powder: Use a high-quality powder bleach specifically designed for hair, like those used for highlights or full head bleach.
- Developer (Oxidizing agent): Choose a developer with a volume of 20 or 30. The volume you select will depend on the thickness of the lace and your experience level with bleaching.
- Mixing Bowl and Brush: Use a plastic or glass bowl and a brush to mix and apply the bleach.
- Gloves: Ensure your hands are shielded from the bleach by wearing gloves at all times.
- Aluminum Foil: You’ll need this to separate sections of the lace as you bleach them.
- Tinting Brush: A tinting brush will help you apply the bleach more precisely.
- Plastic Wrap: To cover the wig/frontal while the bleach processes.
- Shampoo and Conditioner: You’ll need these to wash and condition the wig after bleaching.
- Toner (optional): If the knots turn too light, you may need a toner to correct the color.
Steps-By-Step Procedure For Bleaching The Knots
Safety Precautions:
Wear gloves to protect your hands from the bleach.
Perform this process in a well-ventilated area or use a fan to reduce fumes.
Avoid contact with your skin or eyes, and if it happens, rinse immediately with water.
Step-by-Step Guide:
Step 1: Prepare Your Workspace:
Set up a clean and well-ventilated workspace. Cover the surface with newspaper or plastic to protect it from any bleach spills.
Step 2: Mix the Bleach:
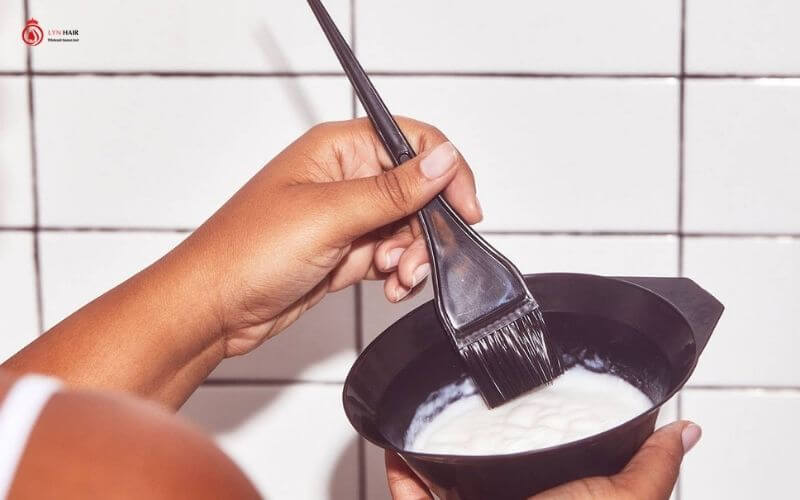
In your mixing bowl, combine the bleach powder and developer according to the manufacturer’s instructions. Typically, you’ll use about 1 part bleach powder to 2 parts developer. Stir the mixture until it transforms into a creamy consistency.
Step 3: Test a Strand:
Before applying the bleach to the entire wig or frontal, it’s a good idea to do a strand test. Take a small section of hair from an inconspicuous area of the lace, apply the bleach mixture, and monitor the processing time to ensure you achieve the desired level of lightening without damaging the hair.
Step 4: Apply the Bleach:
Using your applicator brush or a small brush, carefully apply the bleach mixture to the lace in small, even strokes, focusing on the knots. Make sure to saturate the knots thoroughly without over-saturating the surrounding hair. Work section by section.
Step 5: Process the Bleach:
Allow the bleach to process for about 20-30 minutes. Keep a close eye on it to prevent over-processing, as this can damage the lace and hair.
Step 6: Check the Progress:
After 20-30 minutes, check the knots’ color. They should appear lighter and less noticeable. If they haven’t lightened enough, you can leave the bleach on for a bit longer, but be cautious not to exceed 45 minutes in total.
Step 7: Rinse Thoroughly:
Once you’re satisfied with the results, rinse the bleach out of the lace with cold water. Use a gentle, sulfate-free shampoo and conditioner to wash and condition the hair.
Step 8: Dry and Style:
Gently pat the lace wig or frontal with a towel to remove excess water and allow it to air dry or use a blow dryer on a low heat setting. Style the hair as desired.
Step 9: Knot Sealer (Optional):
After bleaching, you can use a knot sealer product to further secure and protect the knots. This step is optional but can help prolong the life of the wig.
Step 10: Final Touches:
Trim any excess lace around the edges to customize the fit and appearance of the wig or frontal. Apply it to your head using adhesive or wig clips.
Remember that bleaching the knots is a delicate process, and it’s important to be patient and careful to avoid damaging the lace or hair. If you’re unsure or uncomfortable doing it yourself, consider seeking the assistance of a professional wig stylist or hairdresser.
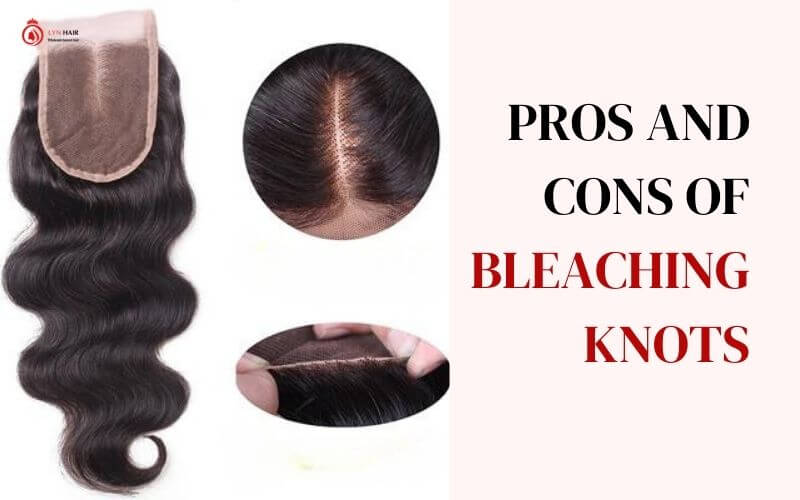
Pros And Cons Of Bleaching Knots
Bleaching knots on a lace wig or lace frontal can have both advantages and disadvantages. Here’s a list of the pros and cons to consider before deciding whether to bleach the knots
Pros of Bleaching Knots:
- Natural Appearance: Bleaching knots creates a more natural scalp appearance.
- Realism: It enhances the overall realism of the wig or frontal.
- Versatility: Allows for various hairstyles without visible knots.
- Confidence Boost: Boosts confidence with a more natural look.
Cons of Bleaching Knots:
- Risk of Damage: Over-bleaching can damage lace and hair.
- Skill Required: Requires skill and precision to avoid mistakes.
- Maintenance: Needs ongoing maintenance to retain the desired look.
- Color Touch-ups: Periodic touch-ups may be necessary.
- Time-Consuming: The process can be time-consuming.
- Chemical Exposure: Involves exposure to potentially harsh chemicals
Bleached Vs. Unbleached Knots: Which One To Go For?
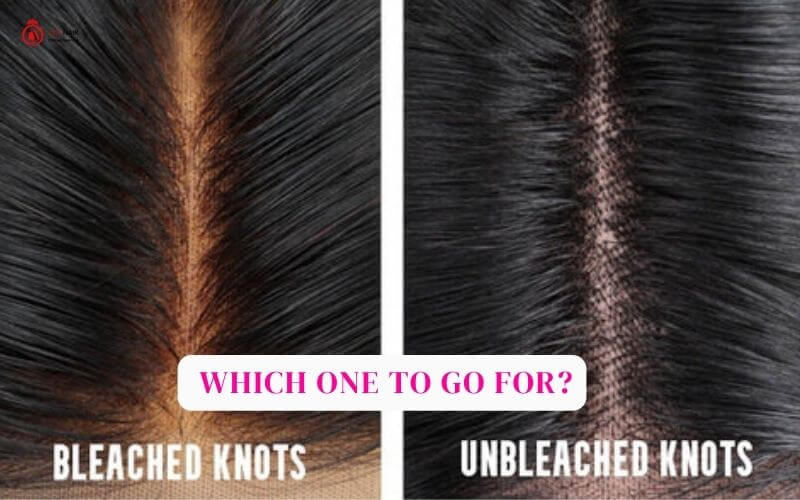
Choosing between bleached and unbleached knots for your lace wig or frontal largely depends on your desired look and maintenance preferences. Bleached knots offer a more natural and realistic appearance, closely resembling a scalp, which can boost your confidence in wearing the wig. However, they come with the risk of damage if not done correctly, and maintenance is essential to retain their appearance. On the other hand, unbleached knots are more durable and require less maintenance, making them a practical choice for those who prioritize convenience. However, they may not achieve the same level of naturalness and may limit your styling options.
Frequently Asked Questions
1. How to fix over bleached knots?
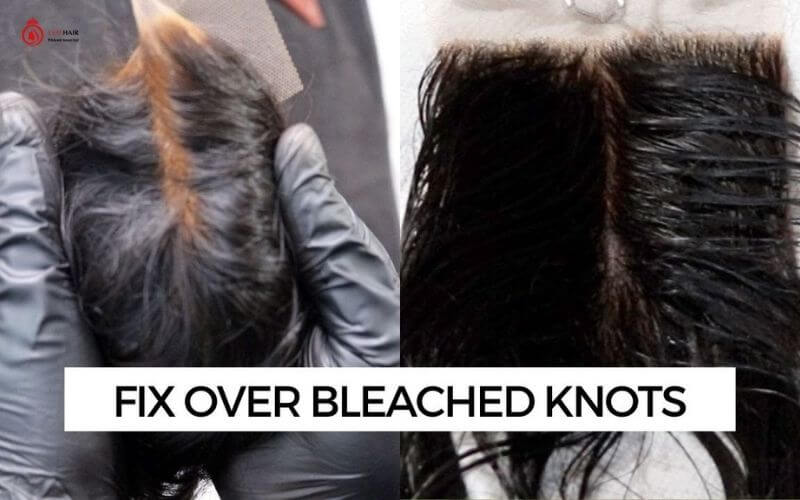
If you’ve accidentally over-bleached the knots on your lace frontal or wig, you can attempt to correct it by applying a diluted hair dye or tint that matches your scalp color. Mix the dye with a lower-volume developer (e.g., 10 volume) and carefully apply it to the over-bleached areas. Monitor the process closely to avoid further damage. If this doesn’t fix the issue, you may need to seek professional assistance or consider purchasing a new lace piece
2. How long to bleach knots on frontal?
The duration for bleaching knots on a frontal typically ranges from 20 to 45 minutes. However, the exact time can vary depending on factors like the bleach used, your desired level of lightening, and the initial color of the knots. Check the knots regularly during the process to prevent over-bleaching, which can damage the lace and hair.
3. What shampoo to use when bleaching knots?
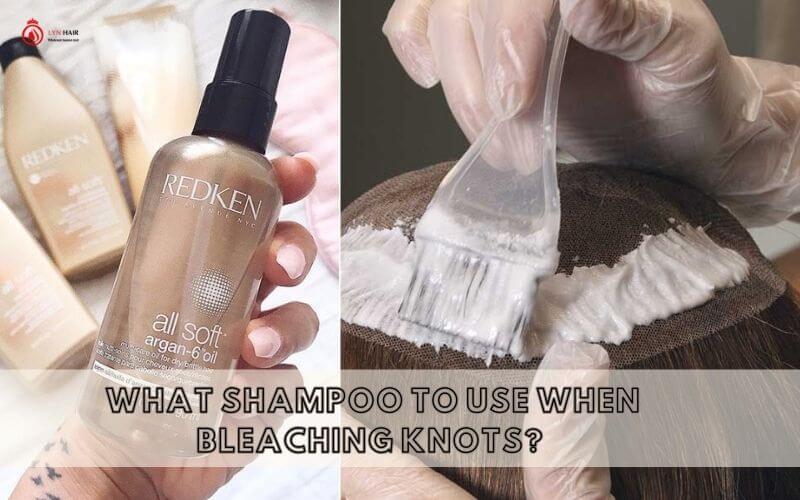
When washing your lace wig or frontal after bleaching the knots, it’s recommended to use a gentle, sulfate-free shampoo and conditioner. These products are milder and less likely to strip the color from the knots or cause damage to the hair.
4. Can you bleach knots while hair is wet?
It’s generally not advisable to bleach knots while the hair is wet. Wet hair can dilute the bleach mixture and make it less effective. Before bleaching, ensure the hair is dry and clean to achieve the best results.
5. Should I pluck before bleaching knots?

It’s generally recommended to pluck or tweeze the hairline slightly before bleaching knots. This thins out the hairline and makes it look more natural. However, be cautious not to over-pluck, as this can lead to an unrealistic appearance. Plucking should be done carefully and sparingly to achieve the desired natural look. After plucking, you can proceed with the bleaching process.
𝑭𝒐𝒓 𝒎𝒐𝒓𝒆 𝒊𝒏𝒇𝒐𝒓𝒎𝒂𝒕𝒊𝒐𝒏, 𝒄𝒐𝒏𝒕𝒂𝒄𝒕:
Whatsapp: +84.936.085.069
Follow us on Instagram: @lyn.hair_official and @lynhair.factory
Website: lynhair.com